How to Optimize PC for Gaming
Boost your PC gaming FPS! Learn how to monitor system health, optimize graphics settings, update drivers safely, and configure BIOS for maximum performance.
Enjoying this? Sign up to earn credits just for reading. Create free account
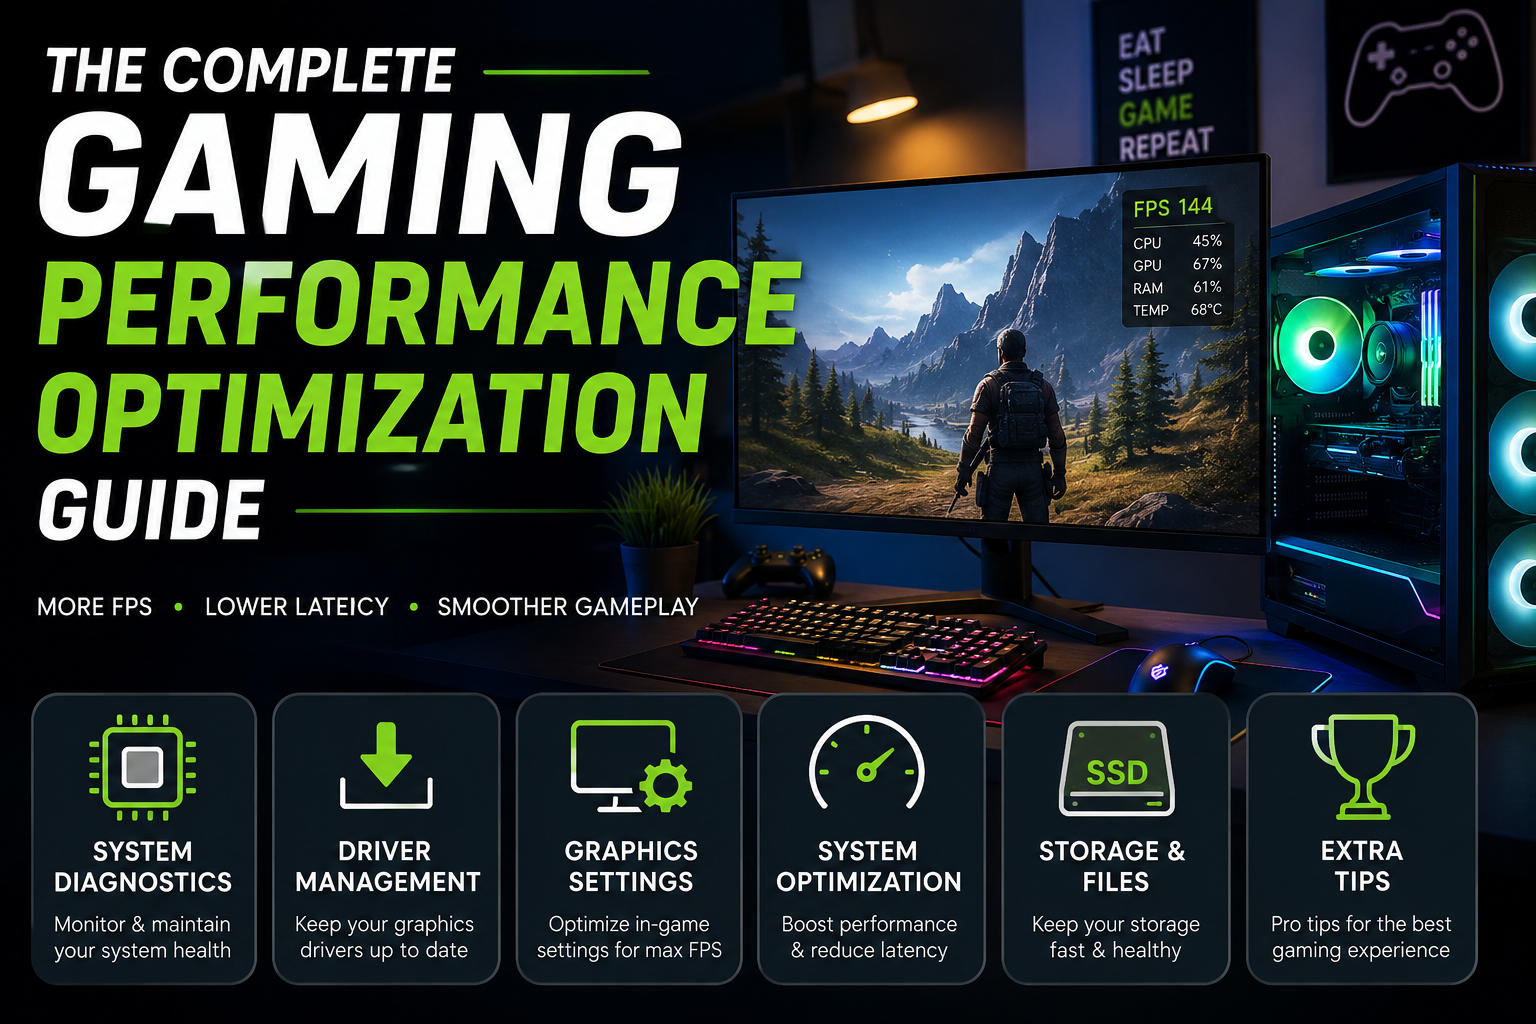
Complete Gaming Performance Optimization Guide
System Diagnostics
Check System Requirements
Verify CPU, RAM, GPU, storage space, and DirectX version against game requirements
Compare specs against minimum vs. recommended requirements
Use System Requirements Lab for automated checks
Search for real-world benchmarks using the same CPU, GPU, resolution, and graphics preset when possible. Treat benchmark videos as estimates, because driver versions, cooling, RAM speed, and game patches can change results.
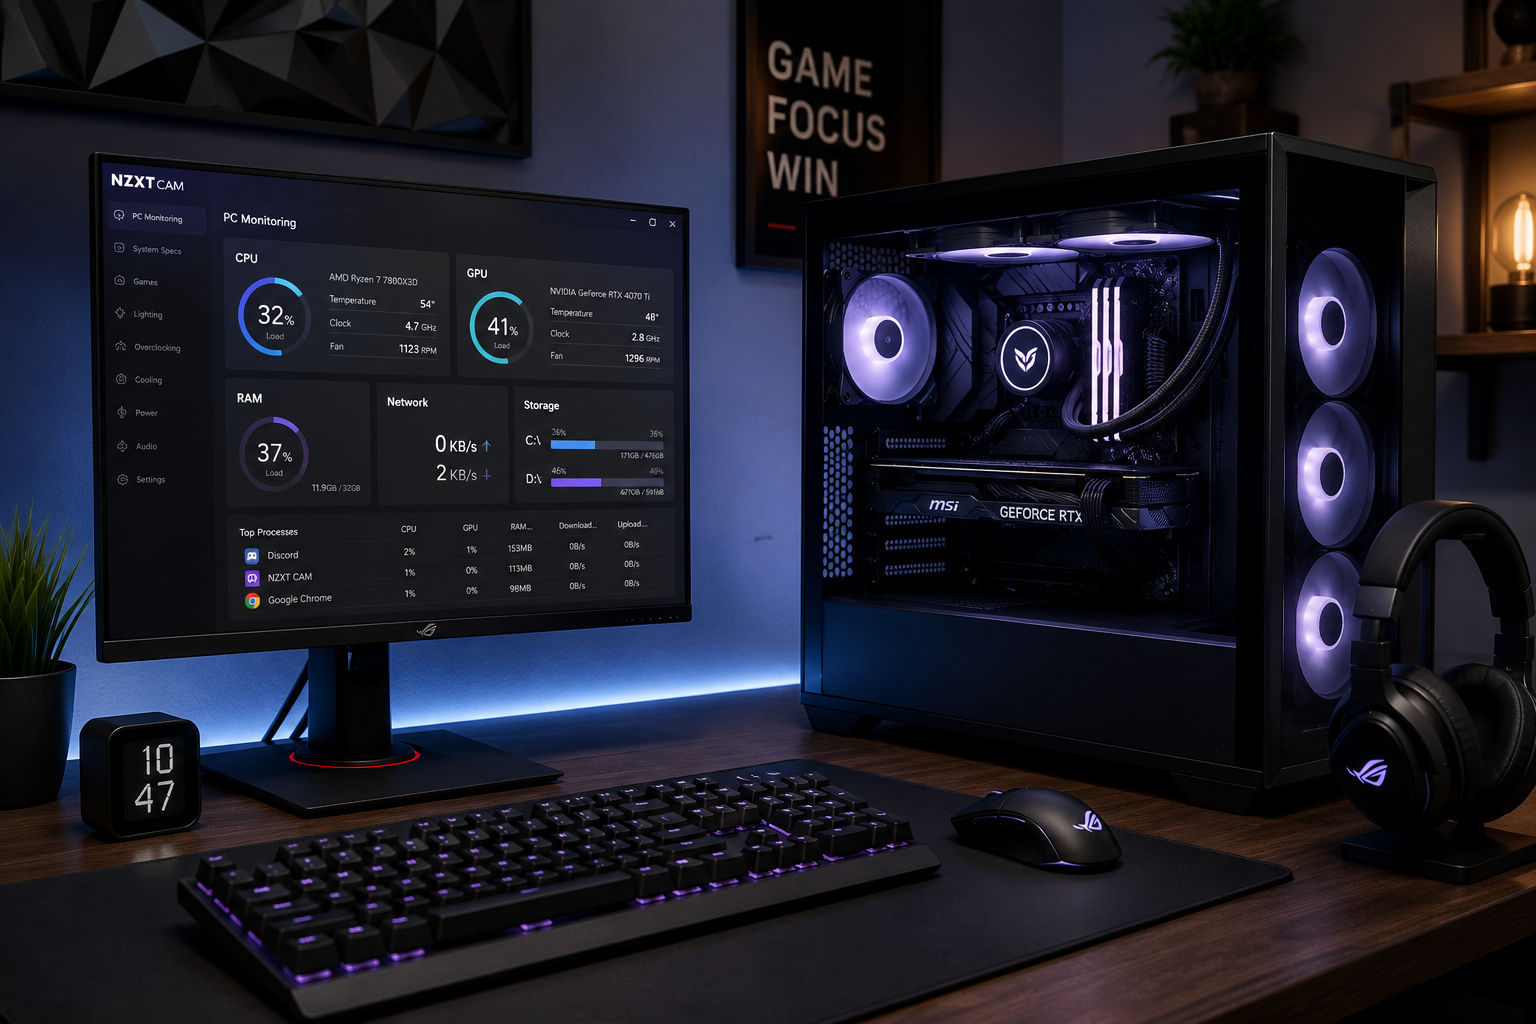
Monitor System Health
Open Task Manager (Ctrl + Shift + Esc) to monitor CPU, RAM, Disk, and GPU usage
Check temperatures: many gaming PCs idle around 30-50°C; CPUs commonly game around 60-85°C, while modern high-end Intel Core i9 and AMD Ryzen 9 chips may boost into the 90-95°C range by design. GPUs commonly game around 65-85°C. Always compare against your CPU/GPU model's official maximum temperature.
Use monitoring tools: HWiNFO, HWMonitor, MSI Afterburner, Core Temp, or NZXT CAM
Clean cooling fans and improve airflow if temperatures stay near the thermal limit, clocks drop sharply, or the PC shuts down. Heat can cause throttling, stutter, fan noise, and instability.
Graphics Driver Management
What Is a Graphics Driver
A graphics driver is a software program that allows your computer's operating system to communicate effectively with its graphics hardware (GPU). It translates visual data into instructions the hardware understands, ensuring games, videos, and applications render smoothly and correctly.
When to Update
Update for new AAA game releases (Game Ready drivers)
Install if experiencing crashes, glitches, or compatibility issues
Update for new features (DLSS, ray tracing improvements)
Performance improvements for existing titles
Safe Update Methods
Official software (recommended): NVIDIA App, AMD Software, or Intel Driver & Support Assistant
Direct download from manufacturer's website for latest versions
Windows Device Manager: Win+X → Device Manager → Display adapters → Update driver. This is useful as a fallback, but it may not provide the newest game-ready package.
Driver Types: Game Ready drivers focus on new game optimizations and frequent releases. Studio drivers prioritize tested reliability for creative apps. Choose Game Ready for most gaming PCs; choose Studio if your system is mainly used for content creation and you value validated creative-app stability.
Important: Always download from official sources only; use a clean installation/reset option if crashes or visual glitches continue after a normal update; restart after installation; avoid beta or preview drivers unless you are troubleshooting a specific game.
Graphics Settings Optimization
Step-by-Step Workflow
Use native resolution - Set to monitor's native resolution (1920×1080, 2560×1440, etc.)
Enable upscaling if needed - NVIDIA DLSS, AMD FSR, or Intel XeSS can improve performance when a game supports them. Start with Quality mode, then Balanced if you need more FPS.
Lower heavy settings first:
- Motion blur & film grain → Off if you prefer a clearer image - Volumetric fog/clouds → Medium - Shadows → Medium or Low - Ambient occlusion → SSAO - Ray tracing (consider lowering unless using upscaling)
Maximize low-cost settings (minimal FPS impact):
- Texture quality → As high as your GPU VRAM allows (monitor VRAM usage to avoid stuttering) - Anisotropic filtering → 16x (negligible performance cost) - Anti-aliasing → TAA (Temporal AA) or SMAA (avoid MSAA on mid-range GPUs)
Configure display settings:
- Set monitor refresh rate to maximum (120Hz, 144Hz, 165Hz, etc.) - For lowest input latency, disable V-Sync; if screen tearing bothers you, enable your monitor's VRR feature (FreeSync/G-Sync/Adaptive Sync) or enable V-Sync - Limit FPS to your monitor refresh rate, or a few FPS below it when using VRR, for smoother frame pacing
Automatic optimization: Use NVIDIA App, AMD Software, or Intel Arc Control for automatic settings
System Optimization
Close Background Applications
Task Manager method: Ctrl + Shift + Esc → Processes tab → End Task for unwanted apps
Disable startup apps: Task Manager → Startup Apps tab → Right-click → Disable
Disable background permissions: Settings → Apps → Advanced options → Background apps permissions → Never
Enable Gaming Features
Game Mode: Settings → Gaming → Game Mode → Turn On (optimizes system resources for gaming)
Hardware-Accelerated GPU Scheduling: Settings → System → Display → Graphics → Change default graphics settings. Turn it on only if your GPU and driver support it, then test your main games. Microsoft describes it as an optional scheduler change; performance and stability can vary by system.
Power Settings: For desktops, use Balanced or High Performance if Balanced limits performance. On gaming laptops, plug in the charger and use the manufacturer's performance mode when gaming.
Storage & File Management
Quick SSD Health Check
Windows 11
Settings \> System \> Storage \> Advanced storage settings \>
Disks & volumes
Select your SSD → Properties.
On supported systems, Windows may show **estimated drive life
remaining and temperature**.
Windows (PowerShell / Command Prompt)
wmic can still work on some Windows installs, but Microsoft has deprecated the WMIC utility. Prefer PowerShell for a quick built-in check:
Get-PhysicalDisk | Select-Object FriendlyName, HealthStatus, OperationalStatus, MediaTypeIf you still use Command Prompt, run it as Administrator and run:
wmic diskdrive get status
If the result is OK, no critical SMART failure is reported, but this is only a basic check and does not show detailed lifespan, TBW, or all warning conditions.
macOS
Open Disk Utility → select the SSD → First Aid.
For real SSD health data (SMART, lifespan), use DriveDX or
smartmontools.
Best Option (Detailed Health)
Use CrystalDiskInfo (Windows) or your SSD manufacturer's tool (Samsung Magician, WD Dashboard, or Kingston SSD Manager).
Check these metrics:
Overall Health
Remaining Life / Percentage Used
Total Bytes Written (TBW)
Temperature
Bad/Reallocated Blocks
Recommendation
For a reliable SSD health check, use CrystalDiskInfo or your manufacturer's utility, not just a quick Windows command.
Install Games on SSD
Reduces loading times and improves texture streaming
Maintain healthy free space on the SSD, especially the Windows/game drive. A 10-20% buffer is a good practical target for updates, shader caches, and avoiding low-space slowdowns.
Steam: Select SSD location during install or move existing games via Properties
Epic Games: Click Browse → Select SSD folder
Xbox App: Profile → Settings → Game Install Options → Select SSD
EA App: Settings → Download → Edit install location
Verify Game Files
Steam: Right-click game → Properties → Installed Files → Verify integrity
Epic Games: Library → Three dots → Manage → Verify
Xbox App: Three dots → Manage → Files tab → Verify and Repair
Ubisoft Connect: Library → Three dots → Verify files
Rockstar Launcher: Settings → Select game → Verify Integrity
EA App: Library → Three dots → Repair
Note: Verification usually preserves saved games and settings. On Steam, a small number of local configuration files may fail to verify normally; this is usually safe to ignore. Back up important saves before deleting folders or reinstalling a game.
System Updates
Update Windows
Press Win + I → Windows Update
Click "Check for updates"
Download and install available updates
Restart PC when prompted
Check optional updates for relevant drivers
Update BIOS
Update BIOS only when you need a fix, CPU/RAM compatibility, security update, or a feature such as Resizable BAR. Do not update BIOS just because a newer version exists.
Download BIOS only from the official motherboard or laptop support page for your exact model.
Back up important files first. If BitLocker/device encryption is enabled, save your recovery key before changing BIOS/UEFI settings.
Use the built-in BIOS utility (Q-Flash, M-Flash, EZ Flash, etc.) and keep the PC connected to reliable power.
Never interrupt the update process.
Advanced BIOS Configuration
Enable XMP/EXPO (Memory Speed)
Intel: Enter BIOS → Ai Tweaker/OC/Extreme Tweaker → Enable XMP Profile 1
AMD: Enter BIOS → Overclocking/Ai Tweaker/EXPO menu → Enable EXPO (or DOCP/A-XMP on some boards). DDR5 systems may require memory training on first boot.
Important: XMP/EXPO runs memory above baseline JEDEC speeds. It is normal for it to improve performance, but stability is not guaranteed on every CPU, motherboard, and RAM kit combination.
If boot fails: Wait 3-5 minutes for memory training (DDR5), Clear CMOS if it still does not recover, update BIOS, or try a lower profile/speed (for example, DDR5-5600 instead of DDR5-6000)
RAM placement: Use recommended slots (usually A2/B2 for dual-channel) for stability
Verify: Task Manager → Performance → Memory to confirm active speed
Enable Resizable BAR (ReBAR)
Prerequisites:
Compatible CPU/chipset, motherboard BIOS, GPU/VBIOS, and graphics driver
UEFI boot mode; CSM (Compatibility Support Module) must be disabled on most boards
Windows boot drive should use GPT partition style before disabling CSM
Steps:
Confirm support on your motherboard/laptop and GPU vendor pages
Update BIOS, VBIOS, and graphics driver only when required for your exact hardware
Disable CSM
Enable Above 4G Decoding
Enable Resize BAR Support
Save and restart
Verify in NVIDIA Control Panel, AMD Software, Intel Arc Control, or GPU-Z
Note: If black screen occurs after disabling CSM, Windows may be installed in legacy/MBR mode. Re-enable CSM to boot again, then convert the drive to GPT before trying again. ReBAR performance varies by game; some titles gain a little, and others may show no benefit.
Troubleshooting Checklist
Issue | Solutions |
|---|---|
Poor FPS | Verify game meets requirements, update drivers, lower demanding settings first, close Discord/streaming apps |
Game won't launch | Verify game files, update Windows/drivers, check anti-cheat requirements, and try toggling Hardware-Accelerated GPU Scheduling if problems started after a driver or Windows update |
Stuttering (high FPS) | Indicates frame time inconsistency—check temps, background apps, insufficient VRAM, or CPU bottleneck |
Stuttering (low VRAM) | Lower texture quality or reduce resolution; monitor GPU VRAM usage in-game |
Overheating | Clean dust filters/fans, improve case airflow, check thermal paste contact, replace if dried |
Texture pop-in | Insufficient GPU VRAM or slow storage; install on SSD or lower texture quality |
Screen tearing | Enable V-Sync or enable monitor's VRR (FreeSync/G-Sync) if available |
Quick Tips
Change only 1-2 settings at a time and test before making more adjustments
Use in-game benchmarks or stress tests (3DMark, GFXBench) to establish baseline performance
Frame time consistency matters as much as FPS—aim for smooth delivery, not just high numbers
Keep at least 10-20% SSD free for optimal performance and system stability
Monitor GPU VRAM, GPU usage, CPU usage, RAM usage, and storage activity. VRAM exhaustion often shows up as hitching, texture pop-in, or sudden FPS drops.
Monitor temperatures regularly during first gaming sessions on new systems
Disable Discord overlay (Settings → Overlay → toggle off) and browser streaming notifications to reduce overhead
Don't disable antivirus/security unless troubleshooting specific anti-cheat conflicts
Verify PSU wattage is adequate for your GPU (check manufacturer specs); undersized PSU causes crashes and throttling
Back up important files before BIOS updates
Next step PC Gaming Setup Accessories (2026): Complete Guide - Part 1
Create a free account to react and start earning credits. Sign up
Be the first to comment (0)
Sign in to comment — you'll come straight back here.